
Drinking-water systems
Reverse Osmosis Systems in Columbia
Multi-stage RO for kitchens from Owen Brown to Dorsey's Search, fitted under your sink in a single short visit.
The Cleanest Glass of Water in the House
Reverse osmosis is the drinking-water system Columbia Water Filtration recommends most often to families who want the cleanest water they can get from a tap. Water moves through several stages, ending at a semi-permeable membrane that removes the majority of dissolved solids along with many of the contaminants people worry about. The result runs from its own faucet at the kitchen sink and fills a small storage tank in the cabinet below. Columbia households usually call us when they are tired of hauling cases of bottled water, when a new baby is on the way or after reading about lead or PFAS in the news. The visit starts with a TDS reading at your tap so you can see the before-and-after difference. Most RO installs take about two hours, start to finish.
What Comes With Your RO System
A complete under-sink reverse osmosis install typically includes these parts and steps.
TDS and chlorine test
We read your tap water first so you can compare it to the RO water after install.
Sediment pre-filter
The first stage catches grit and rust that would otherwise clog the membrane.
Carbon pre-filter
A carbon stage removes chlorine and chloramine, which protects the membrane from damage.
RO membrane
The core stage separates water from the majority of dissolved solids and many contaminants.
Carbon polishing filter
A final stage freshens the taste as water leaves the storage tank.
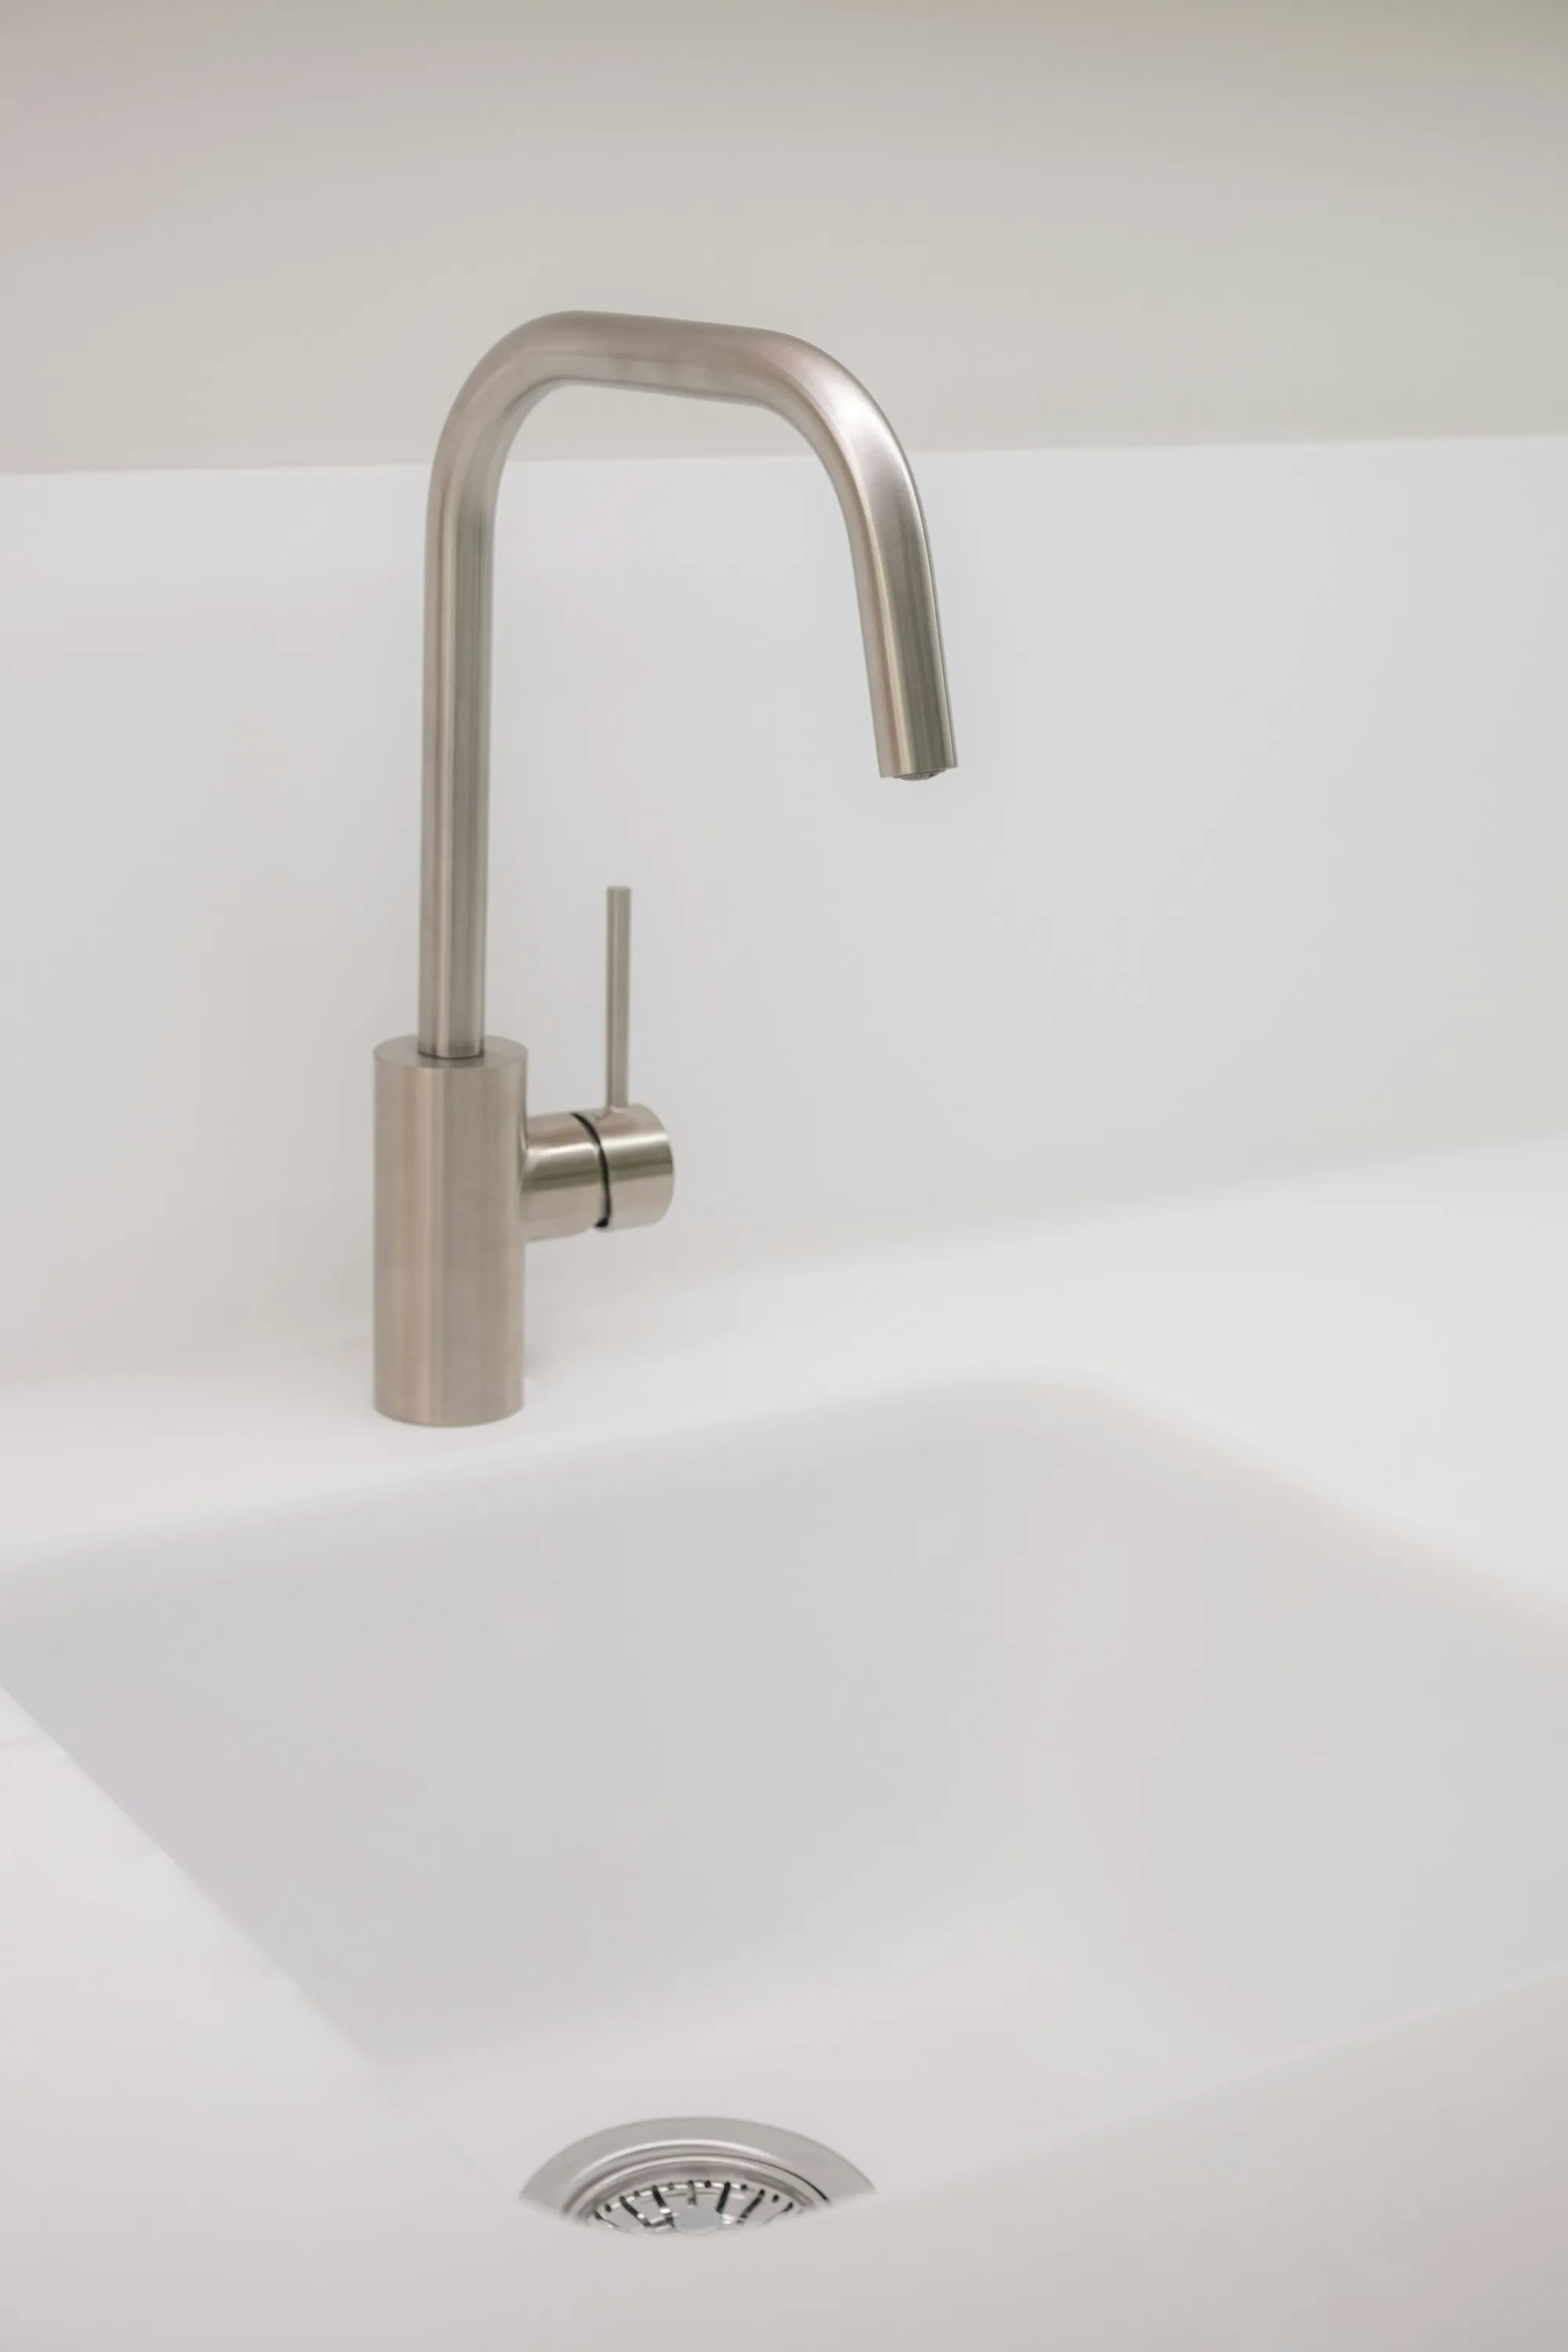
Dedicated faucet
A separate drinking-water faucet is mounted at your sink in a finish that suits your kitchen.
Storage tank
A compact pressurized tank sits in the cabinet so a glass fills quickly when you need it.
Drain saddle and air gap
Waste water is routed to the sink drain with the right fittings to prevent backflow.
Optional refrigerator line
We can run RO water to your fridge dispenser and ice maker if you want it there too.
Flush and taste test
We flush the system and run a fresh TDS reading so you see the drop in dissolved solids.
How Your RO Install Goes
Read your water
We take a TDS and chlorine reading at your kitchen tap. Then we look inside the sink cabinet to check space, the drain and where a faucet can mount. You get a written price for the system and install on the spot. The test takes about half an hour.
Book a short install window
RO installs are short, so we can often fit them in within a day or two of the test. If your countertop needs a new faucet hole, we bring the right bit for the material. You choose the faucet finish ahead of time. A reminder goes out the day before.
Fit, flush and taste
We mount the system, drill or reuse a faucet hole and connect the drain. The tank fills while we flush the filters. A second TDS reading shows the difference in the glass. Most installs wrap up in about two hours.
Why Families Choose Us for Reverse Osmosis
You see the difference measured
We read your water before and after the install, right at your sink. The number change is easier to trust than a sales pitch.
In and out the same morning
An RO install should not take over your kitchen for a day. Ours usually take about two hours, cleanup included.
Filter changes handled for you
We keep a schedule for your pre-filters and membrane and can come out to change them. You do not have to remember which cartridge goes where.
- Before-and-after TDS reading
- About two-hour installs
- Written price before work
- Filter changes available
Fill Your Glass From the Tap Again
If your household goes through cases of bottled water every week, an RO system usually pays for itself. Call for a free reading and we can often install within a day or two.